【How to write Japanese resume -photograph】
The most important thing for applying for a job in Japan is to submit a resume in Japanese. There are some rules that you should follow, but it is not that difficult. Learn here how you should make it, so you can work! This time, I would explain the photograph part only!
First step: Attach a professional photo to your resume
The general rule of thumb when taking a photo for your resume is think of a passport photo. The more professional and presentable you look in the photo, the greater your chances are of being called in for an interview. The photo should be glued to the top right corner of the resume.
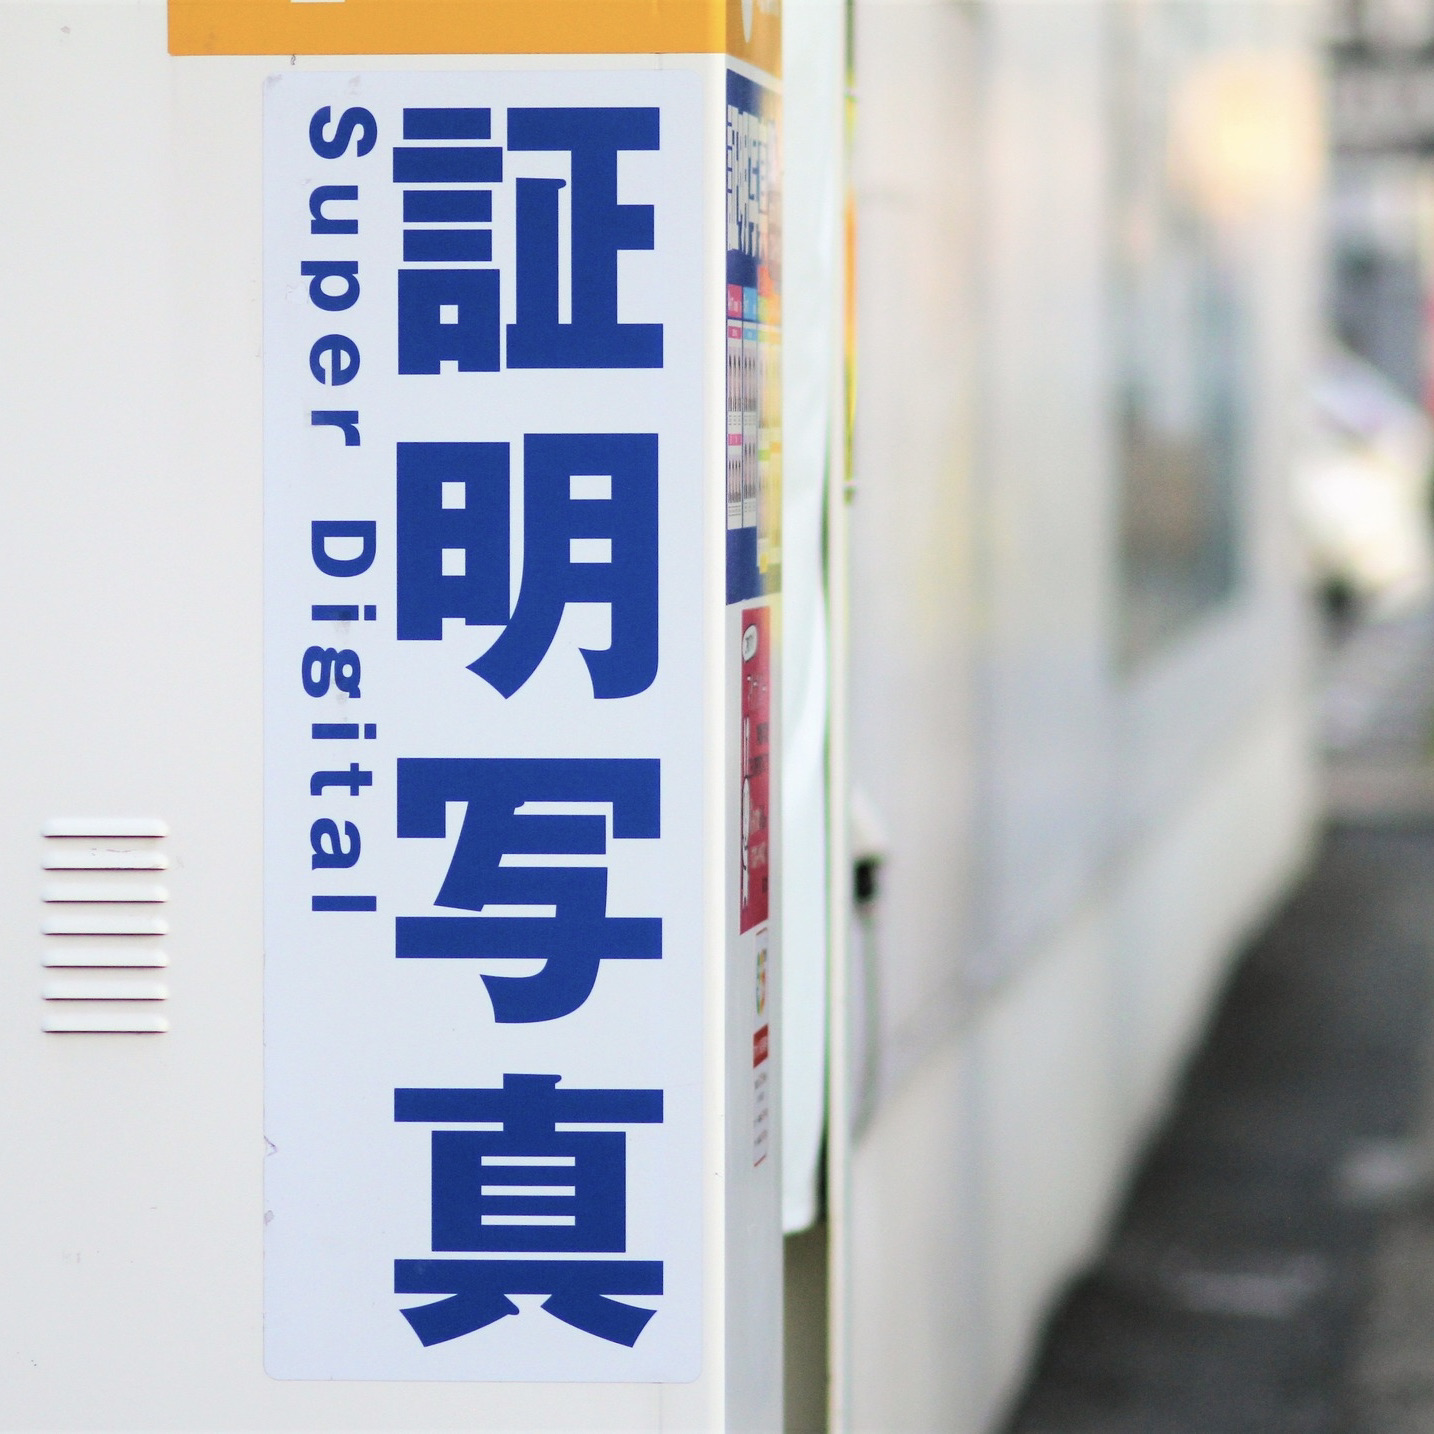
There are plenty of photo booths, not unlike the popular purikura, that specialize in taking photos just the right size for resumes and passports. The booths can be found on the streets of business districts or at most major train and subway stations. To use the booth, step inside, close the curtain, and start to choose your settings. Of course, not every machine is the same, but usually, you will first be given the option to choose between a black and white photo and a color photo.
Then you will be asked what size photo you would like to print. For resumes, press the resume button. All that is left to do after that is to line yourself up with the camera and look your best. If the seat is too low or too high, it can be adjusted by turning to the right or to the left. There is a limited amount of tries, so it is in your best interest to try to get it right the first time. After you have chosen your favorite photo, it takes only less than a minute to print.
Next time, I will explain how to fill out the resume!
ーーーーーーーーーーーーーーーーーーーーーー
【履歴書の書き方 -写真編】
日本で仕事を探す上で重要なことは、日本語の履歴書を書いて、提出することです。 守るべきルールはいくつかありますが、それほど難しいものではありません。 働けるようになるためにも、ここでどのように作成する必要があるかを学んでおきましょう。今回は、証明写真の部分だけ解説します。
ステップ1 :写真を履歴書に添付する
履歴書用の写真は、パスポートの写真を思い浮かべると容易かと思います。写真で、プロフェッショナルを感じさせられれば、面接する可能性が高くなります。写真は履歴書の右上隅に貼り付けましょう。
人気のプリクラみたいに、履歴書やパスポートにちょうどいいサイズの写真を撮ることに特化した写真ブースがたくさんあります。 ブースは、ビジネス地区の路上、または主要な電車や地下鉄の駅にあります。 ブースを使用する時は、中に入ってカーテンを閉め、設定を選択していきます。もちろん、すべてのマシンが同じというわけではありませんが、通常、最初に白黒写真とカラー写真のどちらかを選択するオプションが表示されます。
次に、印刷する写真のサイズを尋ねられます。 履歴書ボタンを押します。 あとは、カメラの前に並んでベストを尽くすだけです。 シートが低すぎたり高すぎたりする場合は、イスを回して調整します。 撮影回数は限られているため、うまくいくように素早く調整しましょう。 お気に入りの写真を選んだら、1 分もかからずに印刷できます。
次回は履歴書の書き方を解説します!

